
Preserving food can be as simple as freezing berries for smoothies, turning extra herbs into freezer cubes or making a batch of refrigerator pickles. It does not have to mean a full day of canning jars, although safe home canning can be a rewarding next step when you are ready.
For many Canadians, preserving is a practical way to make the most of seasonal produce, reduce waste and keep easy ingredients on hand for future meals. Start with a method that suits your time, equipment and comfort level. The most important part is choosing a safe method and following instructions designed for the food you are preserving.
Start small: Freeze a bag of berries, make herb cubes or pickle a few vegetables for the refrigerator. As your confidence grows, you can explore more preservation methods using tested instructions.




What Does Preserving Food Mean?
Food preservation means preparing and storing food in a way that slows spoilage and helps it remain safe and enjoyable to use later. Refrigerating, freezing, drying, pickling, fermenting and canning are all forms of preservation.
Some methods are low-effort and flexible, while others require specific equipment and precise processing. Freezing is often the simplest place to begin. Home canning requires more planning because food acidity, jar size, processing time, lid type and canner type all affect safety.
Choose the Right Preservation Method
| If you have… | A practical preservation option | Best for | What to remember |
|---|---|---|---|
| Ripe fruit | Freezing, compote or a tested jam recipe | Berries, peaches, cherries, apples and sliced fruit | Freeze in recipe-size portions and label with the date |
| Extra vegetables | Freezing, refrigerator pickling or a tested canning recipe | Beans, peas, corn, tomatoes, peppers and carrots | Some vegetables benefit from blanching before freezing |
| Fresh herbs | Freezing in water or oil as cubes; drying suitable herbs | Parsley, basil, dill, oregano, thyme and chives | Fresh-herb oils are not shelf-stable; freeze for up to 9 months or refrigerate and use within 3 days. |
| Tomatoes and sauces | Freezing or a tested canning recipe | Tomato sauce, salsa, crushed tomatoes and soup bases | Canning recipes for tomatoes and sauces must use the specified acid and processing method |
| Cucumbers, onions, radishes or carrots | Refrigerator pickles or a tested pickling recipe | Quick, tangy condiments and sandwich toppings | Refrigerator pickles must stay refrigerated; they are not shelf-stable |
| Low-acid foods | Freezing, or pressure canning with tested guidance | Vegetables, meat, poultry, seafood, soups and mixed sauces | A boiling-water canner is not safe for low-acid foods |
Start With Freezing
Freezing is a practical, low-stress way to preserve food, particularly for first-time preservers. It works for fruit, many vegetables, cooked beans, soups, sauces, meat, poultry and seafood. Consider freezing as an alternative to canning low-acid foods such as vegetables, meat, poultry, seafood and spaghetti sauce.
Freezing basics
- Choose food that is fresh and in good condition.
- Cool cooked foods before placing them in the freezer.
- Use freezer-safe containers or bags and remove as much air as possible.
- Portion food according to how you expect to use it: smoothie packs, one-meal sauce containers or small herb cubes.
- Label every package with the food and date.
- Keep your freezer at −18°C/0°F or lower.
Try freezing:
- Berries on a tray before transferring them to a bag.
- Sliced peaches for smoothies, baking or oatmeal.
- Blanched green beans, peas or corn for soups and side dishes.
- Roasted vegetables for pasta, grain bowls or blended soups.
- Tomato sauce in meal-sized containers.
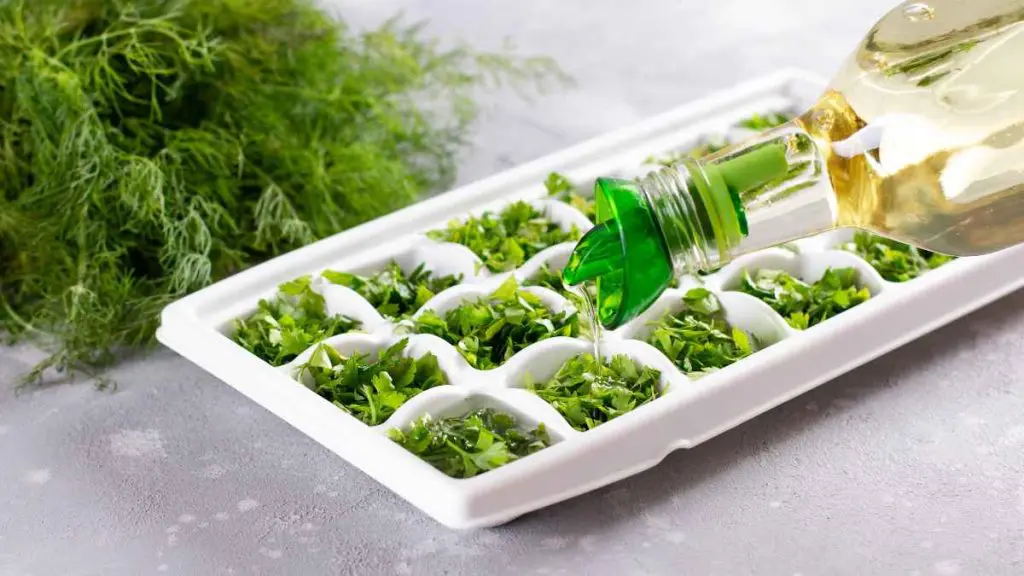
- Fresh herbs in ice-cube trays with water or oil, then transferred to a labelled freezer bag.
Refrigerator Pickles: Quick, Crunchy and Cold-Stored
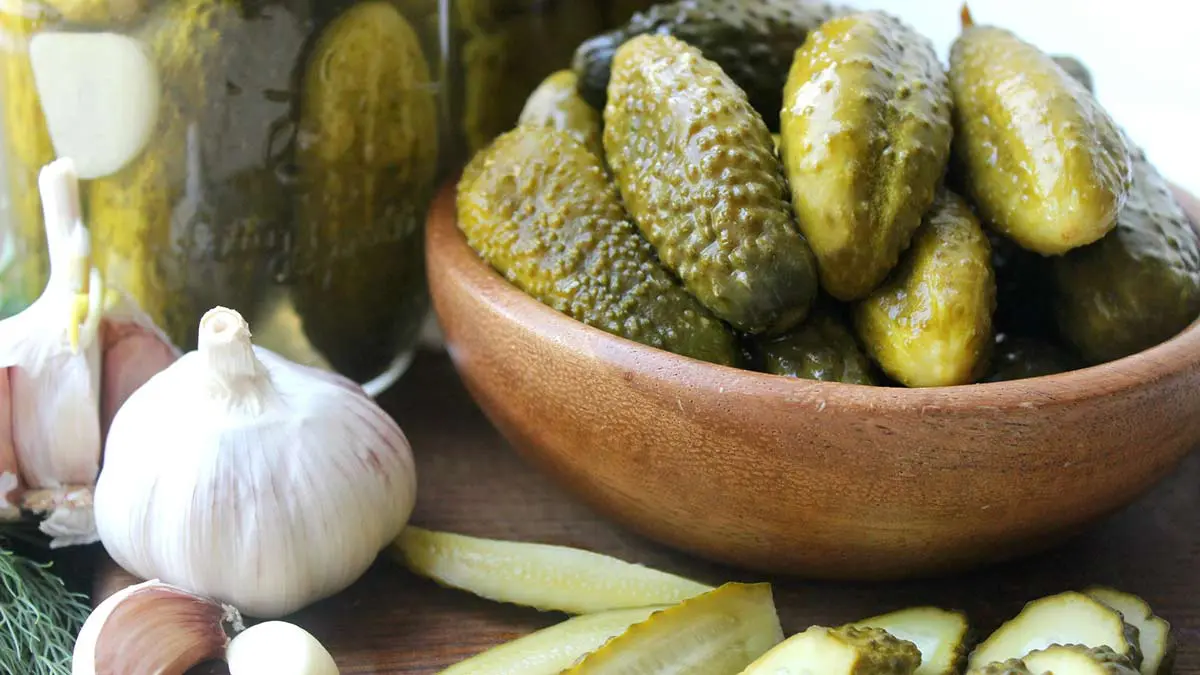
Refrigerator pickles are an approachable way to use extra cucumbers, carrots, radishes, onions or green beans. They add brightness to sandwiches, burgers, salads, grain bowls and snack plates.
The important distinction is that refrigerator pickles are not pantry-stable. They must be kept cold and used according to the recipe’s storage instructions. A jar that has been filled with a vinegar brine and placed in the refrigerator is different from a shelf-stable canned pickle product processed using a tested recipe.
Note: Even if pickles are shelf-stable before opening, they should be refrigerated after opening. Always follow the storage instructions on the product label.
For a first project, try a refrigerator-pickle recipe and make only the amount you expect to use within its recommended storage period.
Fermenting Vegetables: A Tangy Way to Preserve
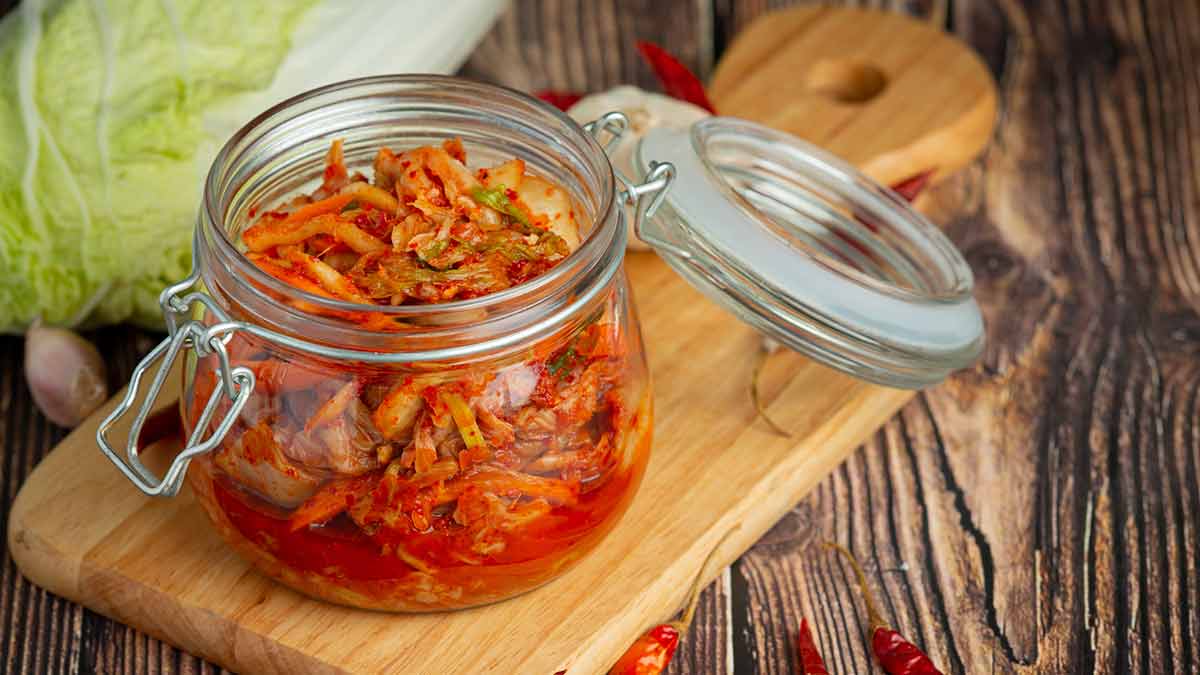
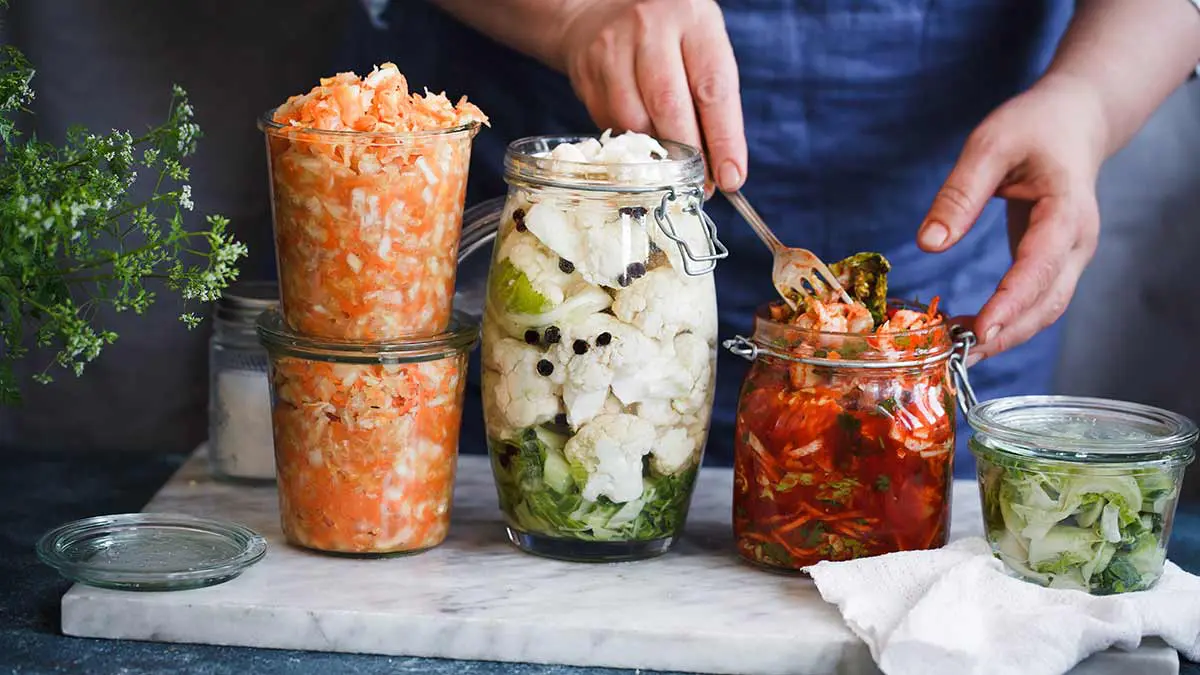
Fermentation offers another way to use seasonal vegetables. During fermentation, microorganisms such as bacteria, yeasts, or fungi break down sugars and other compounds in the food into acids, alcohol, or gases. This results in foods with a deeper or tangier taste, different texture, longer shelf life, and in some cases, improved nutritional value. Sauerkraut and kimchi are familiar examples made with cabbage. Unlike a quick refrigerator pickle made with vinegar, a fermented vegetable develops its tang through the fermentation process; not all pickled vegetables are fermented.
If you’re new to fermenting, begin with a reliable recipe for a food such as sauerkraut and follow its directions closely. Use fresh vegetables, clean equipment, and pay particular attention to the recipe’s salt amount, fermentation temperature and timing. These conditions help the desired fermentation take place while limiting the growth of unwanted microorganisms. Follow the recipe’s instructions for storing the finished ferment, too.
Keep fermentation and canning separate. A jar of fermented vegetables is not automatically shelf-stable. Follow the recipe’s storage instructions for the finished ferment. If you want to can fermented vegetables for pantry storage, use a tested recipe that specifies the canning process; do not assume that sealing the ferment in a jar makes it safe to store at room temperature.
Try a spoonful of sauerkraut or kimchi with a sandwich, grain bowl or eggs. For more on how fermentation works and why not all fermented foods contain live microbes, read What Are Fermented Foods?
Fresh Herbs: Freeze, Dry or Use Soon
Fresh herbs can be one of the easiest foods to preserve. Freezing preserves their flavour for cooked dishes, while drying works well for certain sturdy herbs, including oregano, thyme and rosemary.
For freezer herb cubes, chop clean herbs, divide them into an ice-cube tray and cover with water or oil. Freeze solid, then move the cubes to a freezer bag labelled with the herb and date. Add a cube directly to soups, sauces, eggs or sautéed vegetables.
Take care with herb and garlic oils. Simply covering in oil is not a preservation method: Flavoured oils and pesto made with fresh herbs and garlic must be refrigerated and used within three days unless frozen, which will keep in the freezer for up to 9 months.
Dehydrating Food at Home
Dehydrating, or drying, is a useful way to preserve fruits and vegetables when they are ripe, plentiful or a little too ripe to enjoy fresh. It turns extra produce into shelf-stable ingredients for snacks, lunchboxes, baking, trail mix, soups and everyday cooking.
You do not need specialized equipment to get started. An oven set to a low temperature can work well for occasional projects, while a dehydrator can be helpful if you dry food regularly. The key is to remove enough moisture for the food to dry thoroughly before storage. Under-dried food can spoil; over-dried food is still usable, but may be crisp rather than chewy.
Choose produce that is ready to use
Drying is an especially practical option for ripe or slightly overripe fruit and vegetables. Apples, pears, peaches, plums, berries, tomatoes, peppers, carrots, peas, corn, broccoli, cauliflower and zucchini can all be good candidates. Trim away blemished areas, but discard any produce that is mouldy or spoiled.
Seasonality can inspire, but use what you have. For example, apples, pears, cranberries and peppers can be useful fall drying projects, while berries, cherries, peaches, corn, tomatoes and zucchini are popular choices during summer harvests.
Prepare produce for even drying
A little preparation helps food dry evenly and gives a better final texture.
- Wash produce in cold water before preparing it.
- Remove pits, stones, large seeds and berry stems.
- Peel thick-skinned fruit, such as peaches, if you prefer a more even dry.
- Slice produce into even pieces, about ⅛ to ¼ inch thick.
- Blanch hearty vegetables, including broccoli, cauliflower, carrots, corn, peas and potatoes, for 2 to 3 minutes, then cool them in ice water before drying.
- To reduce browning, soak apples, pears and other fruit that oxidizes in a mixture of ¼ cup lemon juice and 4 cups water for 10 minutes. Drain and pat dry before placing on trays.
- Add salt, sugar or spices if desired.
Drying fruit and vegetables
| Method | How to do it | Helpful notes |
|---|---|---|
| Oven | Set the oven to its lowest setting, ideally 130–160°F. Arrange produce in a single layer on parchment- or silicone-lined baking sheets. | Keep air moving by propping the door slightly open with a wooden spoon. Rotate pans every two hours and flip thicker pieces halfway through if needed. Find out more from lovefoodhatewaste. |
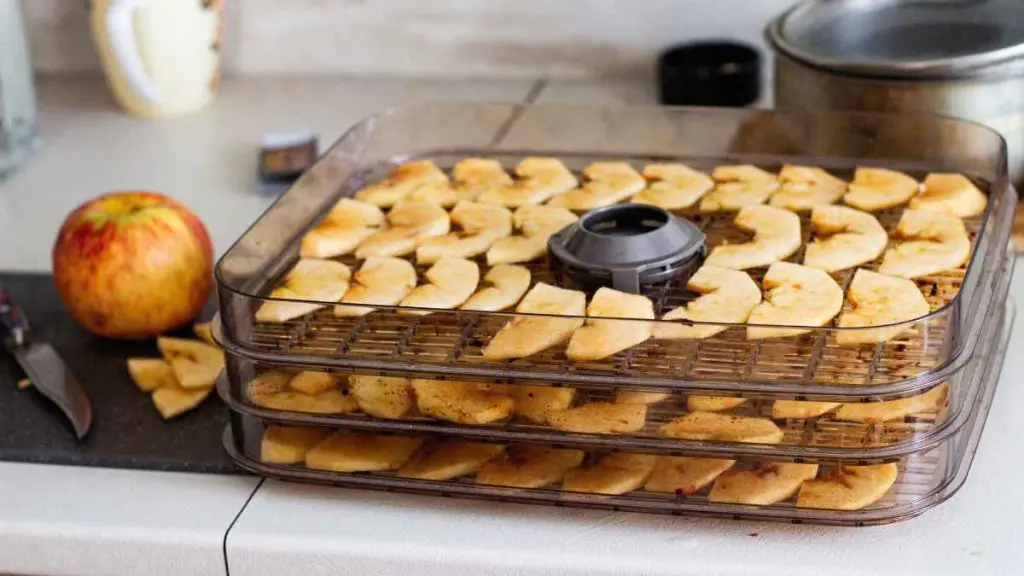
| Dehydrator | Set the dehydrator to 140°F, often labelled as the fruit setting. Arrange produce in a single layer on the racks. | Check after 12 hours, then every 6 hours. Exact drying time depends on slice thickness, moisture level, humidity, altitude and appliance performance. Find out more from lovefoodhatewaste. |
Drying time varies widely. Thin apple, banana, pear, peach or plum slices may take about six hours in an oven, while grapes, citrus peel, cherries, strawberries and apricots may take eight to 12 hours. Check the food rather than relying only on the clock. It is ready when cooled pieces feel dry and leathery, with no damp areas.
Cure dried produce before storing
Curing is the final step that helps make sure moisture is evenly distributed and that the food is dry enough to store.
- Let dried fruit or vegetables cool completely.
- Place them in an open container on the counter for 4 to 5 days.
- Shake the container daily so any remaining moisture can evaporate evenly.
- Transfer the cured food to a clean, sealed container.
According to Love Food Hate Waste Canada, properly cured dried produce can keep in a sealed container for about 10 months.
Ways to use dehydrated food
- Add dried apples, pears, berries or peaches to oatmeal, granola, muffins or trail mix.
- Use dried tomatoes in pasta dishes, salads, sandwiches, pizza or sauces.
- Add dried mushrooms, carrots, corn, peas or peppers to soups, stews and camping meals.
- Crumble dried herbs into salad dressings, sauces, roasted vegetables and seasoning blends.
- Rehydrate dried vegetables in soups or sauces, or use them directly where a firmer texture works well.
Important: This section is intended for fruit and vegetables. Drying meat, poultry, fish or seafood requires additional food safety controls. Use only a current, tested recipe from a recognized preservation source for jerky or dried animal foods. For other preserving methods, including home canning, follow current tested instructions from trusted resources such as Health Canada, Bernardin, Canadian Food Focus and qualified preserving educators.
Home Canning: When Precision Matters
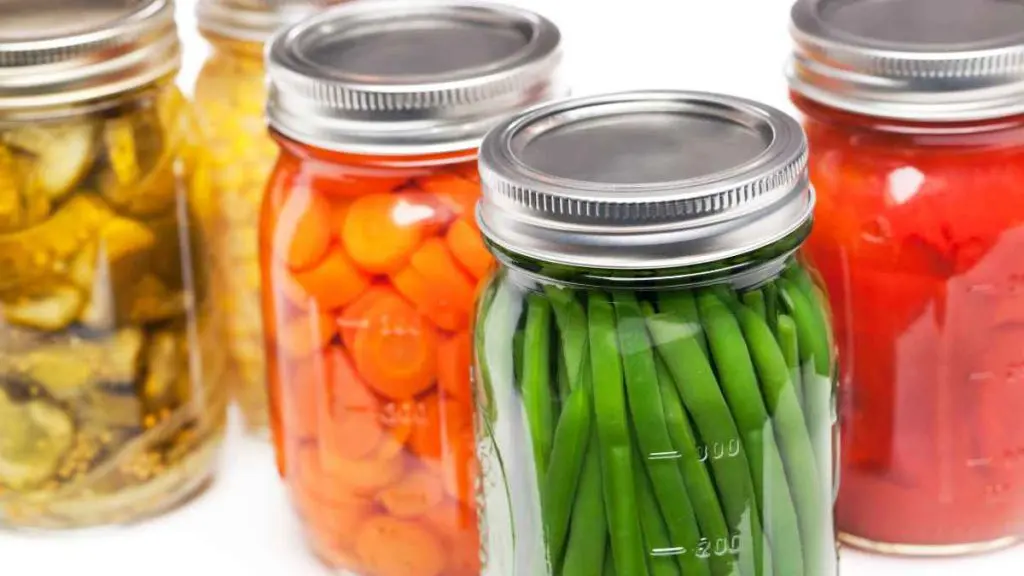
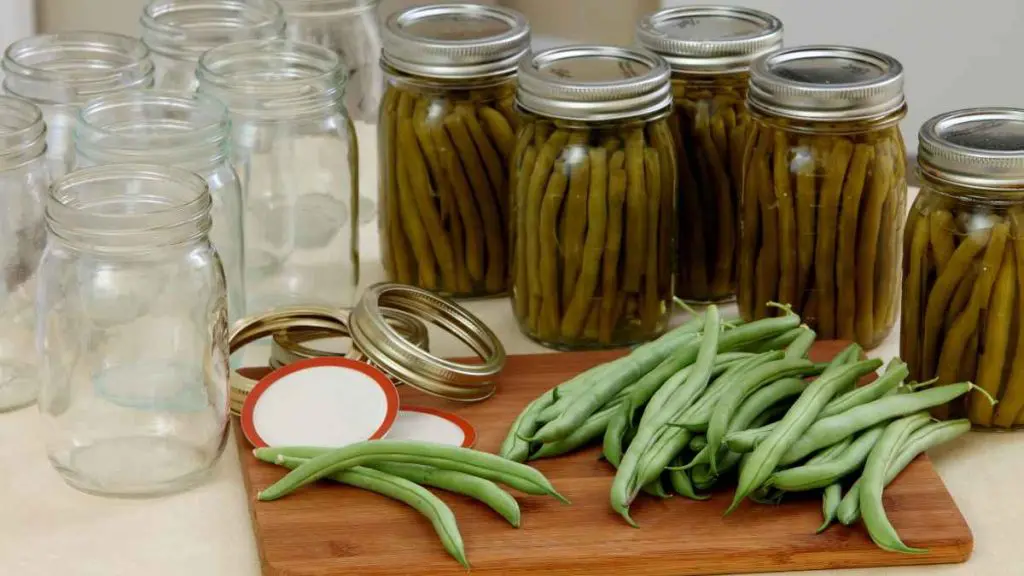
Home canning can help preserve seasonal foods for pantry storage, but it is not a method for improvising. It requires proper equipment, current tested recipes and exact attention to the instructions for the specific food you are preserving.
Health Canada divides foods into two broad groups:
- High-acid foods have a pH below 4.6 and may be processed in a boiling-water canner when a tested recipe instructs you to do so. Examples include fruit, jams, jellies, marmalades, fruit butters, pickles, sauerkraut and tomatoes that have the acid specified in the recipe added.
- Low-acid foods have a pH above 4.6 and require a pressure canner. Examples include most fresh vegetables, meat, poultry, seafood, soups, milk and mixed sauces containing ingredients such as meat and vegetables. Tomatoes are a borderline high-acid food and require added lemon juice or vinegar for safer canning.
Home-canning safety checklist
Use proper jars intended for home canning.
Use new self-sealing lids; do not reuse old lids.
Use current, tested home-canning recipes.
Do not substitute ingredients, alter ingredient quantities or change jar sizes.
Follow the recipe’s recommended headspace, processing time and pressure level exactly.
Use the canner specified by the recipe: boiling-water canner for appropriate high-acid foods and a pressure canner for low-acid foods.
Label and date jars, store them in a cool, dry place and use them within one year for best quality.
Food-safety reminder: Improperly canned or bottled foods can cause botulism, a serious illness. Botulism does not necessarily change a food’s colour, smell or taste. Never eat food from a home-canned jar that is leaking, bulging, damaged or otherwise questionable. When in doubt, throw it out.
Home-canning resources
Use current, tested instructions for every home-canning project.
- Health Canada: Guidance on home-canning safety, including food acidity, tested recipes, jar sizes and pressure-canning requirements.
- Bernardin: Canadian home-canning recipes, jars, lids, FAQs and how-to resources.
- Canadian Food Focus: 5 Tips for Preserving Foods Safely and storage guidance for food kept in the refrigerator or freezer.
- The Preserving Chef: Preservation education and classes led by Certified Master Food Preserver Chef Connor Flynn.
Learn From Trusted Preserving Educators
If you are new to canning, fermentation or dehydration, a class can help you understand the reasons behind each step, not just follow a recipe. Here are two Canadian educators who offer ways to build those skills:
- The Preserving Chef, led by Certified Master Food Preserver Chef Connor Flynn, offers Canadian food-preservation education, including online canning and fermentation classes for beginners and experienced home preservers. Its approach emphasizes current safe food handling alongside practical skills for preserving seasonal ingredients.
- The Valley Preservery, led by Certified Master Food Preserver Martha Rogers in Kimberley, Ontario, offers custom hands-on workshops for groups. Topics can include water-bath and pressure canning, fermentation, dehydration and seasonal preserving projects.
Common Preservation Mistakes to Avoid
- Treating oil as a shelf-stable preservative. Fresh herb or garlic oils must be refrigerated and used promptly.
- Reusing old canning lids. Use new self-sealing lids for each home-canning project.
- Changing a tested canning recipe. Ingredient amounts, jar size, acid level, processing time and pressure are all part of the safety process.
- Using a boiling-water canner for low-acid foods. Most vegetables, soups, meat, poultry and seafood require pressure canning.
- Assuming refrigerator pickles are shelf-stable. Keep them cold and follow the recipe’s storage guidance.
- Forgetting labels. Add the food name and date before placing anything in the freezer or pantry so it’s clear when it needs to be used by.
Make Preserved Food Part of Everyday Meals
The best preservation projects are the ones you will enjoy using. Think beyond the jar or freezer bag and choose foods that solve future meal problems.
- Add frozen berries to smoothies, oatmeal, yogurt or muffins.
- Stir frozen herb cubes into soups, scrambled eggs, pasta sauce or roasted vegetables.
- Use frozen tomato sauce for pasta, pizza, shakshuka or lasagna.
- Add refrigerator pickles to sandwiches, burgers, wraps, grain bowls and salads.
- Use frozen roasted vegetables in soups, pasta dishes or grain bowls.
- Spoon preserved peaches over yogurt, serve them with pancakes or bake them into crisps and cobblers.
Frequently Asked Questions
Is freezing food considered preserving?
Yes. Freezing slows spoilage and is one of the simplest preservation methods. It works particularly well for fruit, vegetables, sauces, soups and cooked foods.
What is the easiest preservation method for beginners?
Freezing is often the easiest place to start because it requires little specialized equipment. Herb cubes, frozen berries and meal-size portions of sauce are practical first projects.
Can I reuse canning lids?
No. Health Canada recommends using new self-sealing lids for home canning and not reusing old lids, even if they appear to be in good condition.
Can I change a home-canning recipe?
No. Do not alter the specified jar size, ingredient amounts, processing time or pressure level in a tested home-canning recipe. These details are part of the food-safety process.
Why does acidity matter in home canning?
Acidity determines which canning process is needed to prevent harmful bacteria from growing. High-acid foods can be processed in a boiling-water canner when a tested recipe directs it; low-acid foods require pressure canning.
Are refrigerator pickles shelf-stable?
No. Refrigerator pickles must be stored in the refrigerator. They are different from canned pickles that have been processed using a tested shelf-stable recipe.
Is oil a safe preservative for fresh garlic or herbs?
No. Oil is not a shelf-stable preservative. Keep fresh-herb and garlic oils refrigerated and use them within three days.
How should I store home-canned food?
Label and date jars, keep them in a cool, dry place and use them within one year for best quality. Refrigerate leftovers after opening.
Start Small, Preserve Safely
Preserving food is a practical way to enjoy seasonal ingredients later, but it works best when it fits your everyday life. Start with one easy project: a bag of frozen berries, a container of tomato sauce, fresh-herb cubes or a small batch of refrigerator pickles.
As your confidence grows, you can explore canning and fermentation with current, tested recipes, the right equipment and trusted instruction. The goal is not a pantry full of jars; it is safe, flavourful food that makes future meals easier and more enjoyable.
Additional Articles to Explore






 Salmon & Lentils En Papillote